-
Set up the necessary locations
-
Navigate to Publish>Venues
-
Complete the form with as much information as available
To add even more detail to your venues
-
Get a list of those live locations/venues used in scheduled courses
-
Systematically go through the venues list to check that each live venue has a the correct co-ordinates (check the map suggestion against the address)
-
Use the following website to gain the correct latitude and longitude by:
- searching www.google.com/maps to confirm the address and get a Google recognized address, then..
- put the address in this page to get the lat and long https://www.latlong.net/
- Once you have the longitude and Latitude you can use the following replaceable variable in emails to include a link to the course venue map:
[Venues:VenueDisplayMapUrl]
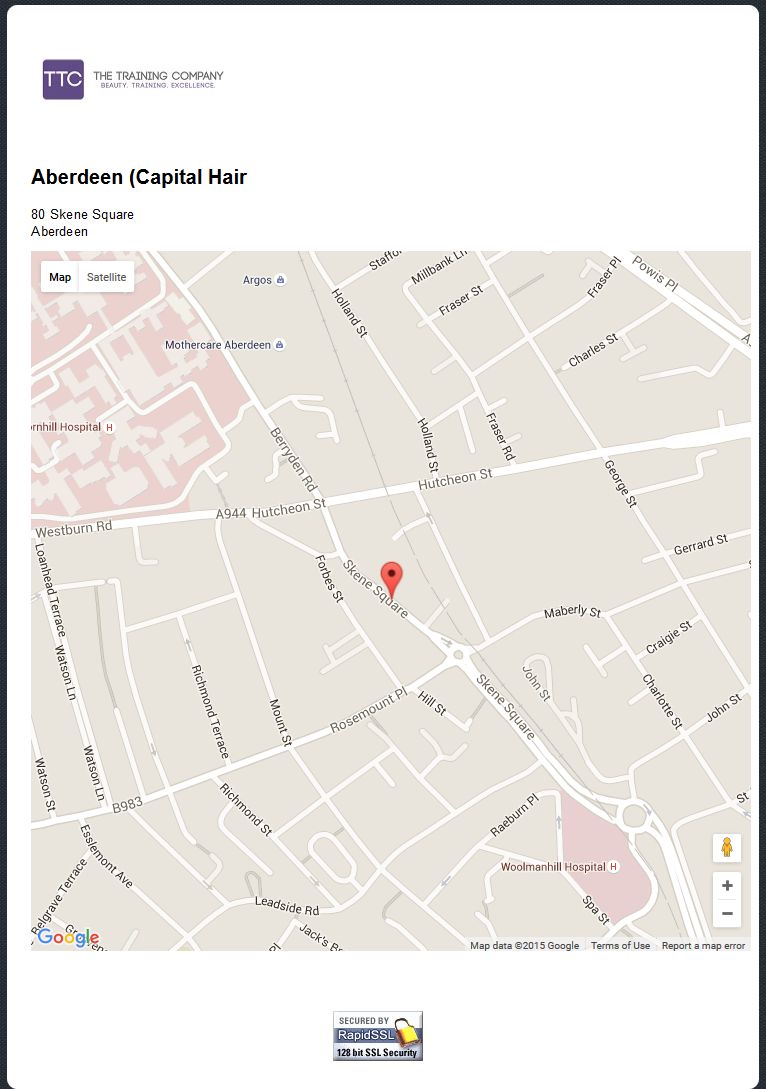
Clicking on the link will display something like this (with your organisation’s logo)
Remember to check:
- that the timezone is correct
- that the address is correct
And remember to save the Venue status as ‘Active’
Online courses
If you deliver online training a ‘venue’ physical location is less relevant (though this does enable you to have different timezones if you are doing webinars). We suggest you have one venue called ‘online’ or if you are delivering webinars use the method of delivery eg Google Hangouts or Webex.
Tips
If you notice that locations are appearing when you don’t think they should check that you have not nested locations under each other. eg. Sydney City should not have other Sydney locations nested under them unless you want to see these when filtering by ‘Sydney City’